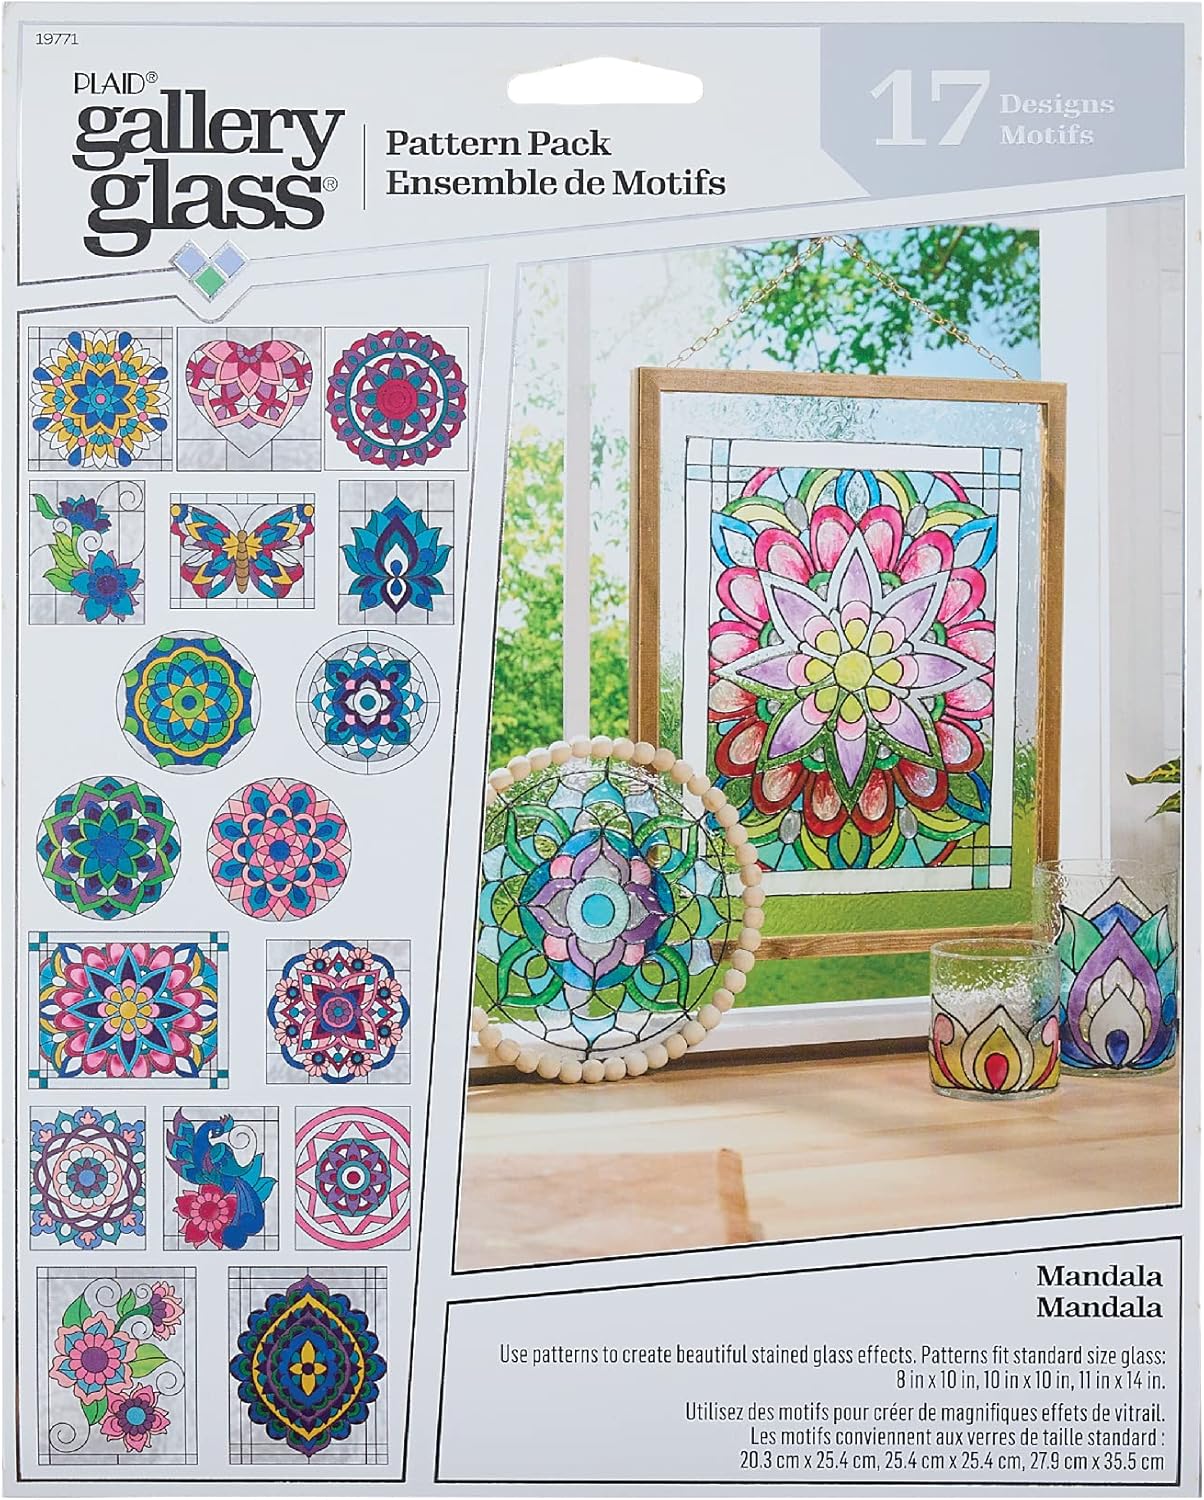
Gallery Glass, Mandala 3 Piece Pattern Set Perfect for Stained Glass DIY Arts and Crafts, 19771
$ 2.16
Free shipping on orders over £50
- Satisfaction Guaranteed
- No Hassle Refunds
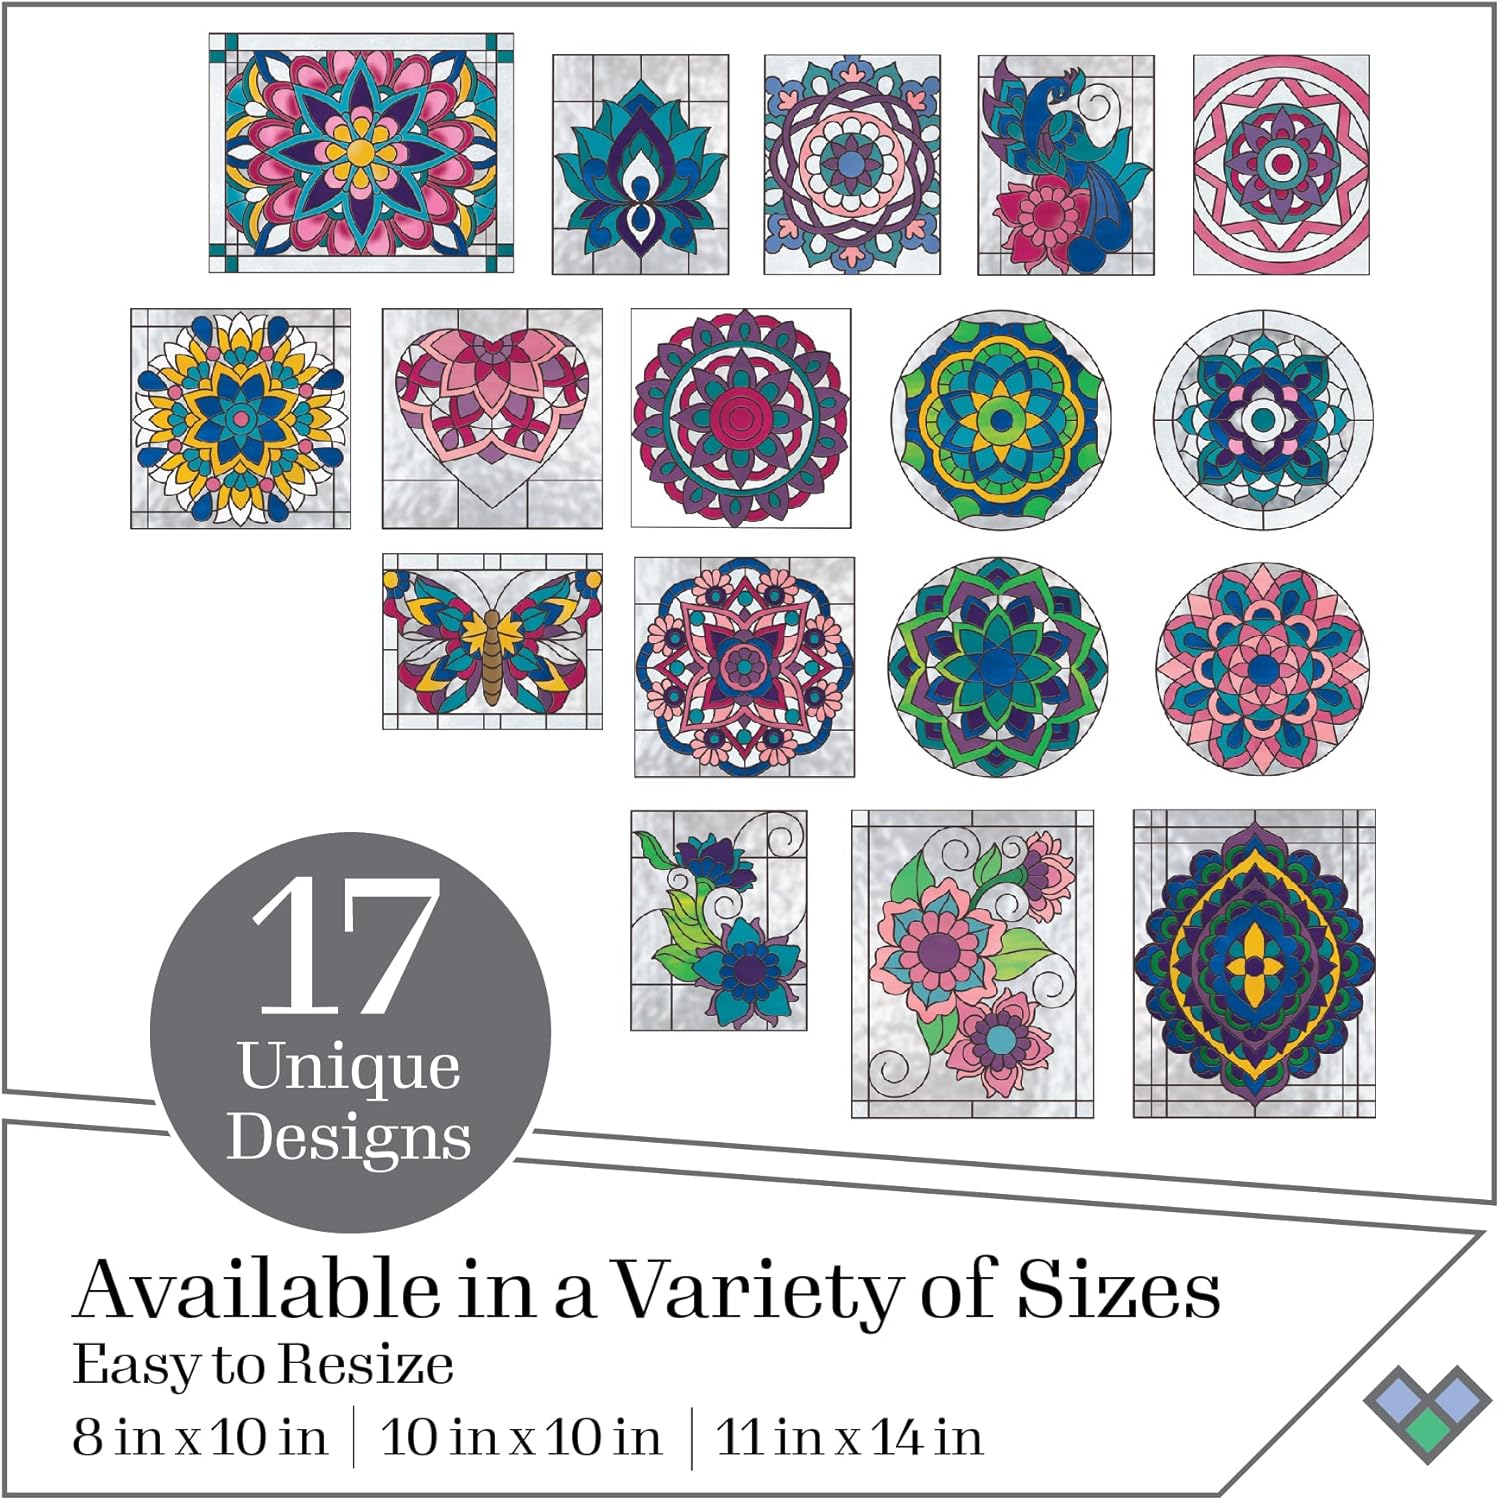
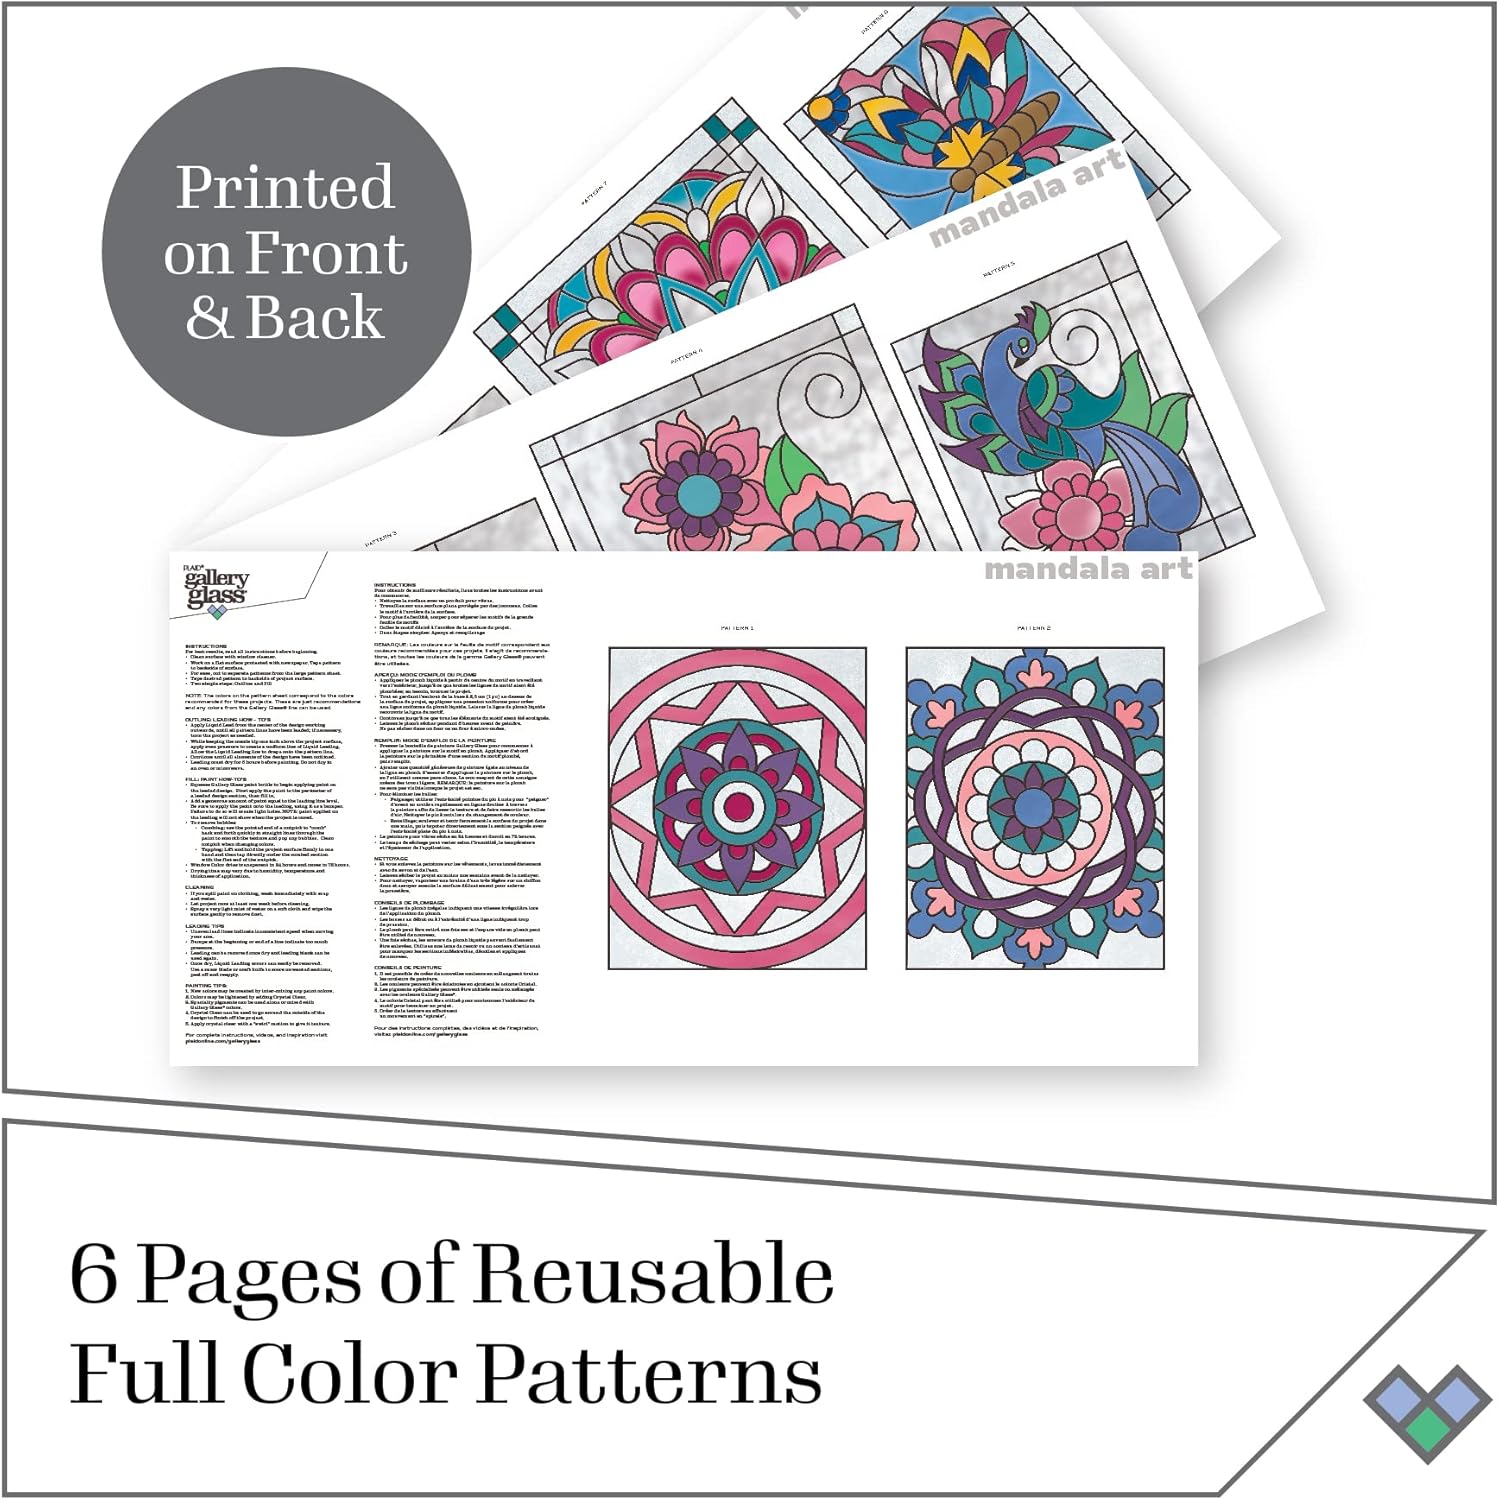
About this item HANDY SIZE – This pack includes 3 pattern sheets featuring an array of 17 traditional designs and shapes that are easy for beginners or experts to trace and fill in. Patterns fit standard size glass: 8 in x 10 in, 10 in x 10 in, 11 in x 14 in SMOOTH LINES – Simply trace your favorite pattern with Gallery Glass Liquid Leading then fill with Gallery Glass Stained Glass Paint to add flair to any of your glass projects EASY APPLICATION – Easily create peel-and-stick designs with these patterns then transfer to your large project or make unique window clings and more. Great for all your glass arts and crafts! HELPFUL TIPS – Thoroughly clean your project surface before beginning your project. Make sure to clean your glass surface with alcohol or soap and water before painting your glass. Use with Gallery Glass Stained Glass Paint to make your glass projects pop! PROJECT CURE TIME – Let Gallery Glass dry for 24 hours. Fully cures in 7 days. Drying times vary due to humidity, temperature, and thickness of paint. Gallery Glass has a water-based, non-toxic formula. Not recommended for outside use PREP – Working on a flat, protected surface, tape pattern to backside of surface and trace with Gallery Glass Liquid Lead. For ease, cut to separate patterns from the large pattern sheet BASIC INSTRUCTIONS – Apply Liquid Lead from the center of the design working outwards, until all pattern lines have been leaded. Keep the nozzle tip one inch above the project surface, apply even pressure to create a uniform line of Liquid Leading. Apply the paint to the perimeter of a leaded design section, then fill in. Add paint equal to the leading line level, applying the paint onto the leading, using it as a bumper. NOTE: paint applied on the leading will not show when the project is cured. To remove bubbles: Tap directly under the section with the flat end of the nutpick from the Gallery Glass tool set
Related products
-
-
-
Gallery Glass, Mandala 3 Piece Pattern Set Perfect for Stained Glass DIY Arts and Crafts, 19771
$ 2.16Select options This product has multiple variants. The options may be chosen on the product page -